HopHop - After-school management
In order to help manage the end of school days, your school uses a module in the HopHop app that allows you to determine where your child should go after class time. This web page presents the steps to configure your account.
Setting up your account
1. Go to the web link for registration and to create your file
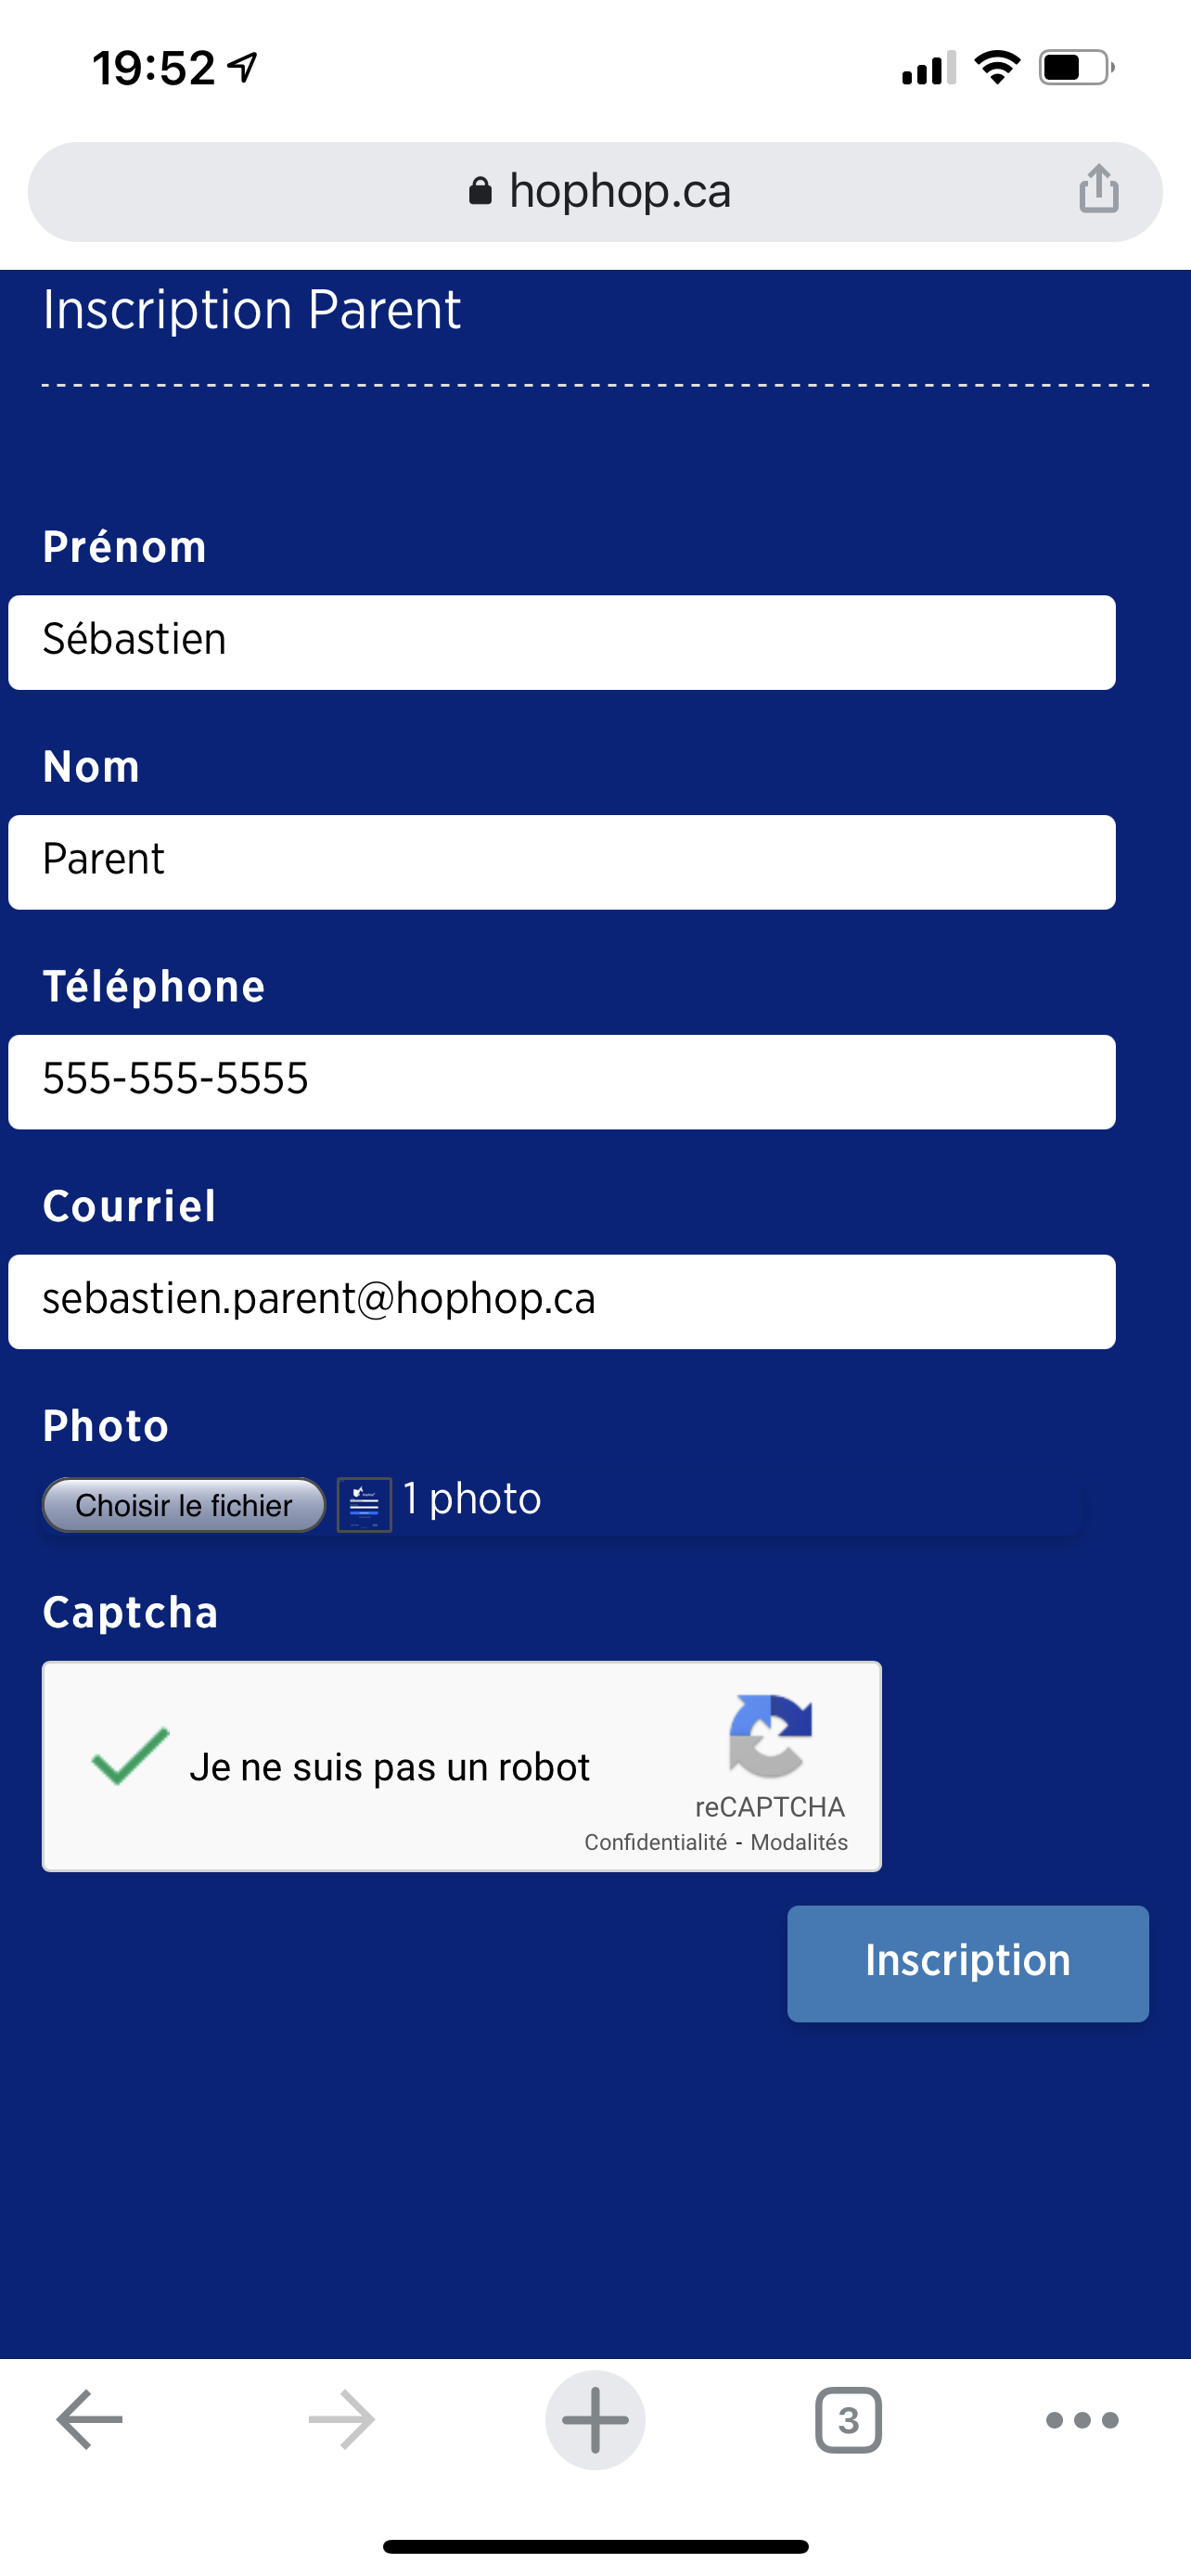
Go to the following site: www.hophop.ca/inscription and enter your information to create your account.
- You must enter your last name, first name, phone number (for SMS) and email (your account ID).
- You must also put a photo that will be visible from the center only.
2. Connect with the information received by email
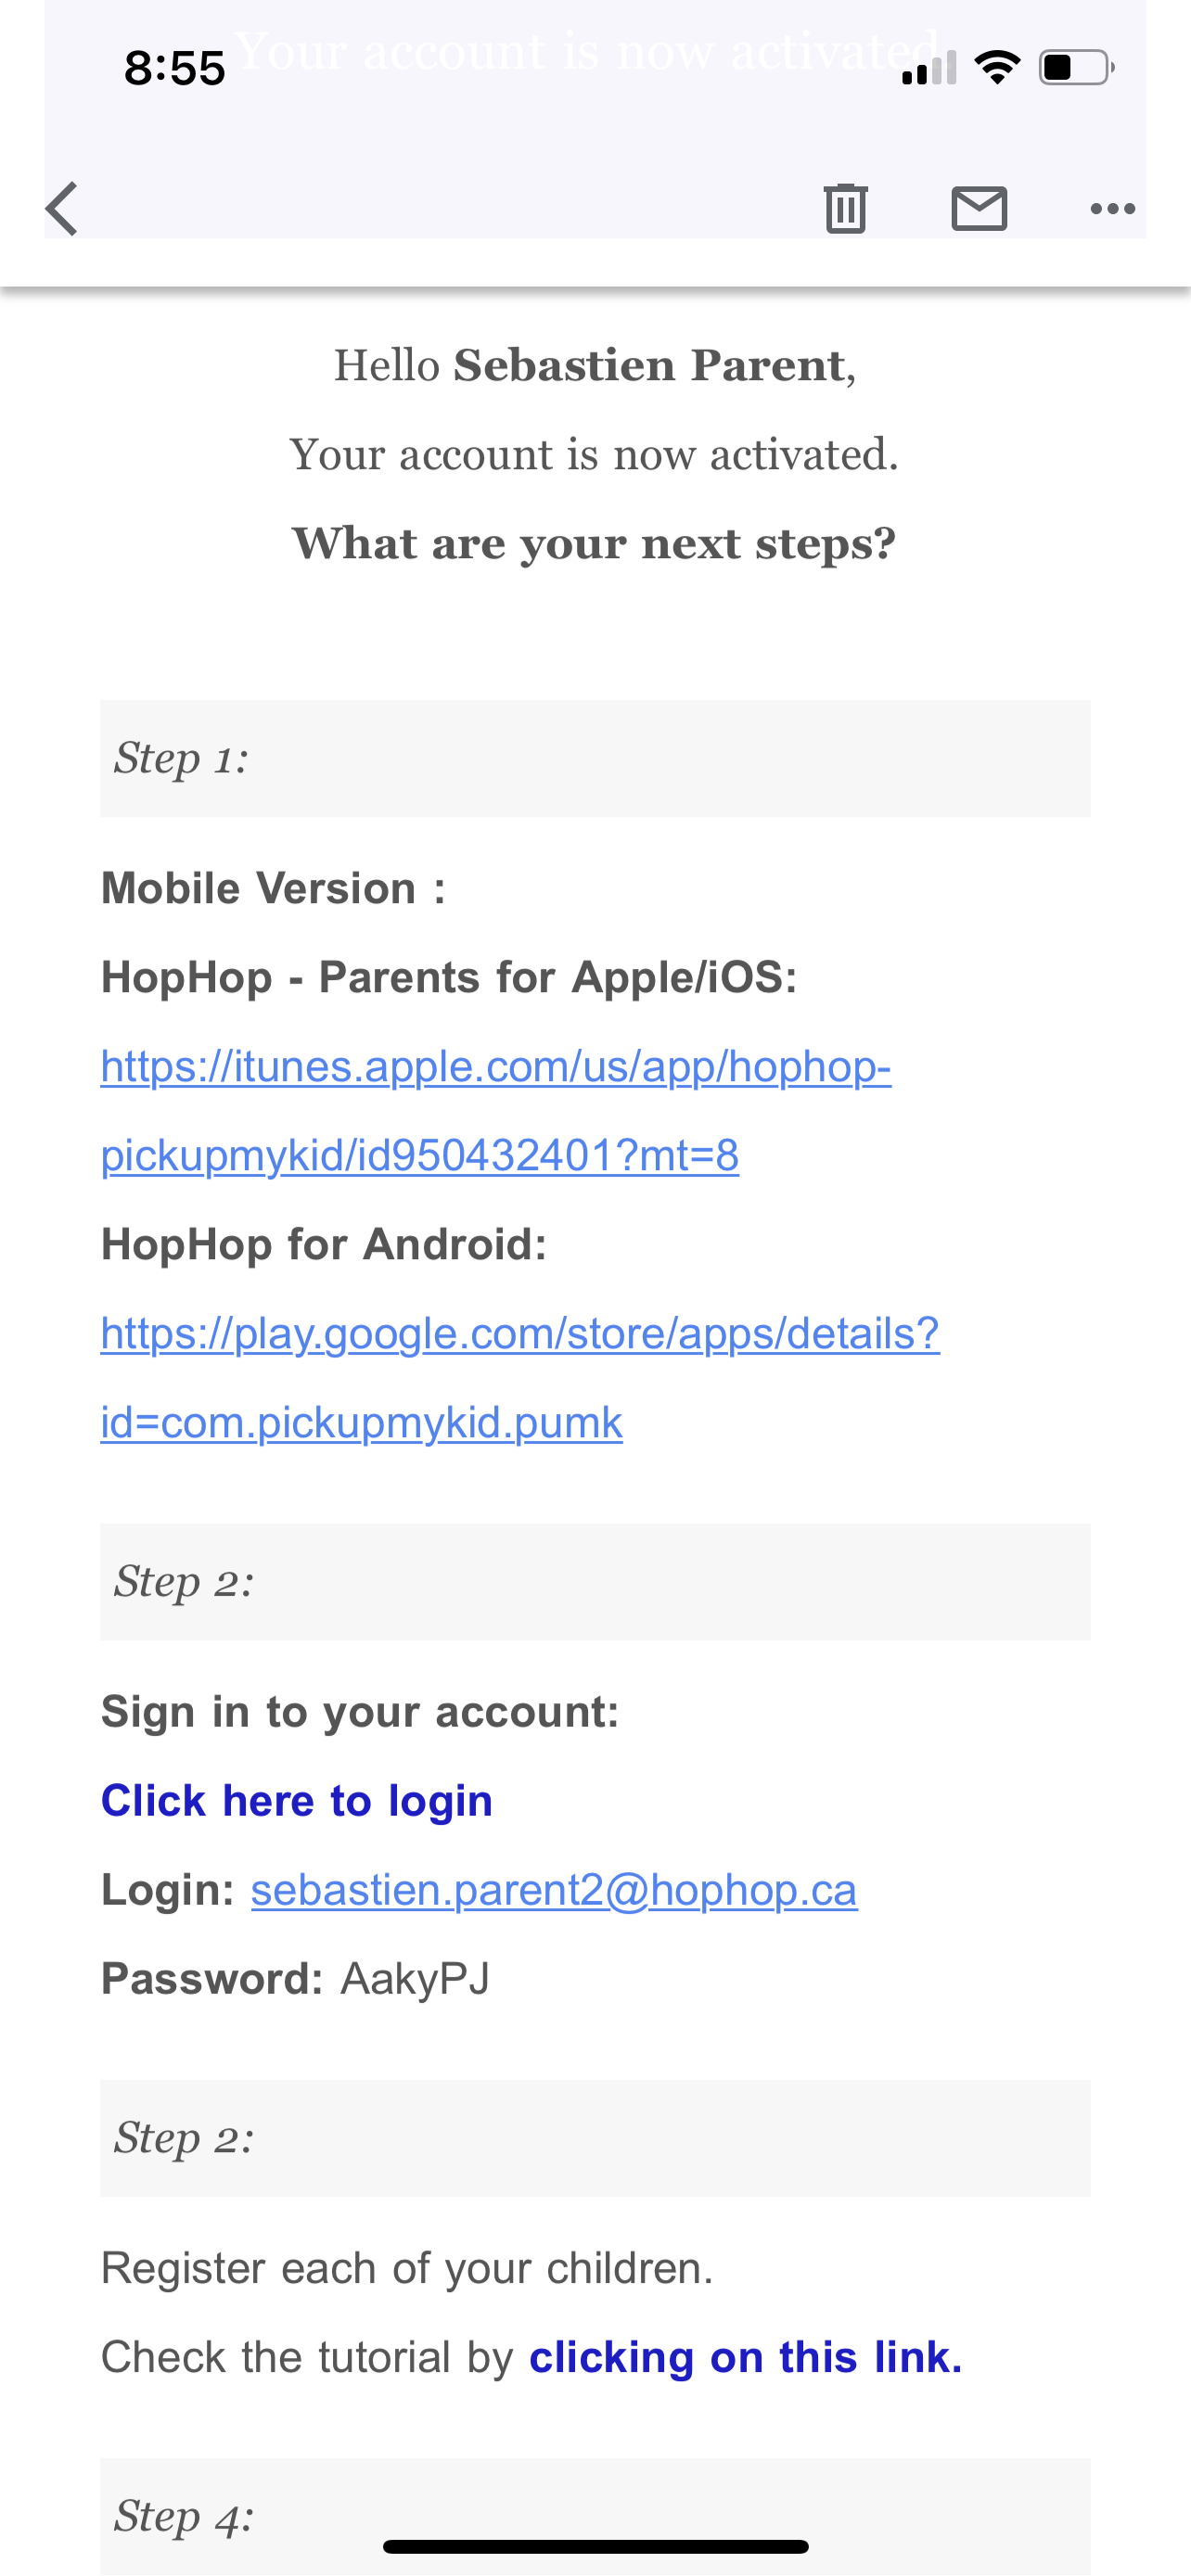
When your account is successfully created, a message appears telling you that an email has been sent.
Note: In this message, it is indicated that you can install the mobile version of the application, but the after-school management feature is only accessible with the web version.

Once the email is received, connect to the web version of the application (app.hophop.ca) and use the information in step # 2 of the email:
- Email address,
- password
As mentioned in the note above, do not take into account step # 1 of the email since the mobile version does not allow you to manage the after-school status.
Note: Be sure to consider upper and lower case letters for the password.
3. Add your children
(Complete this step for each of your children.)
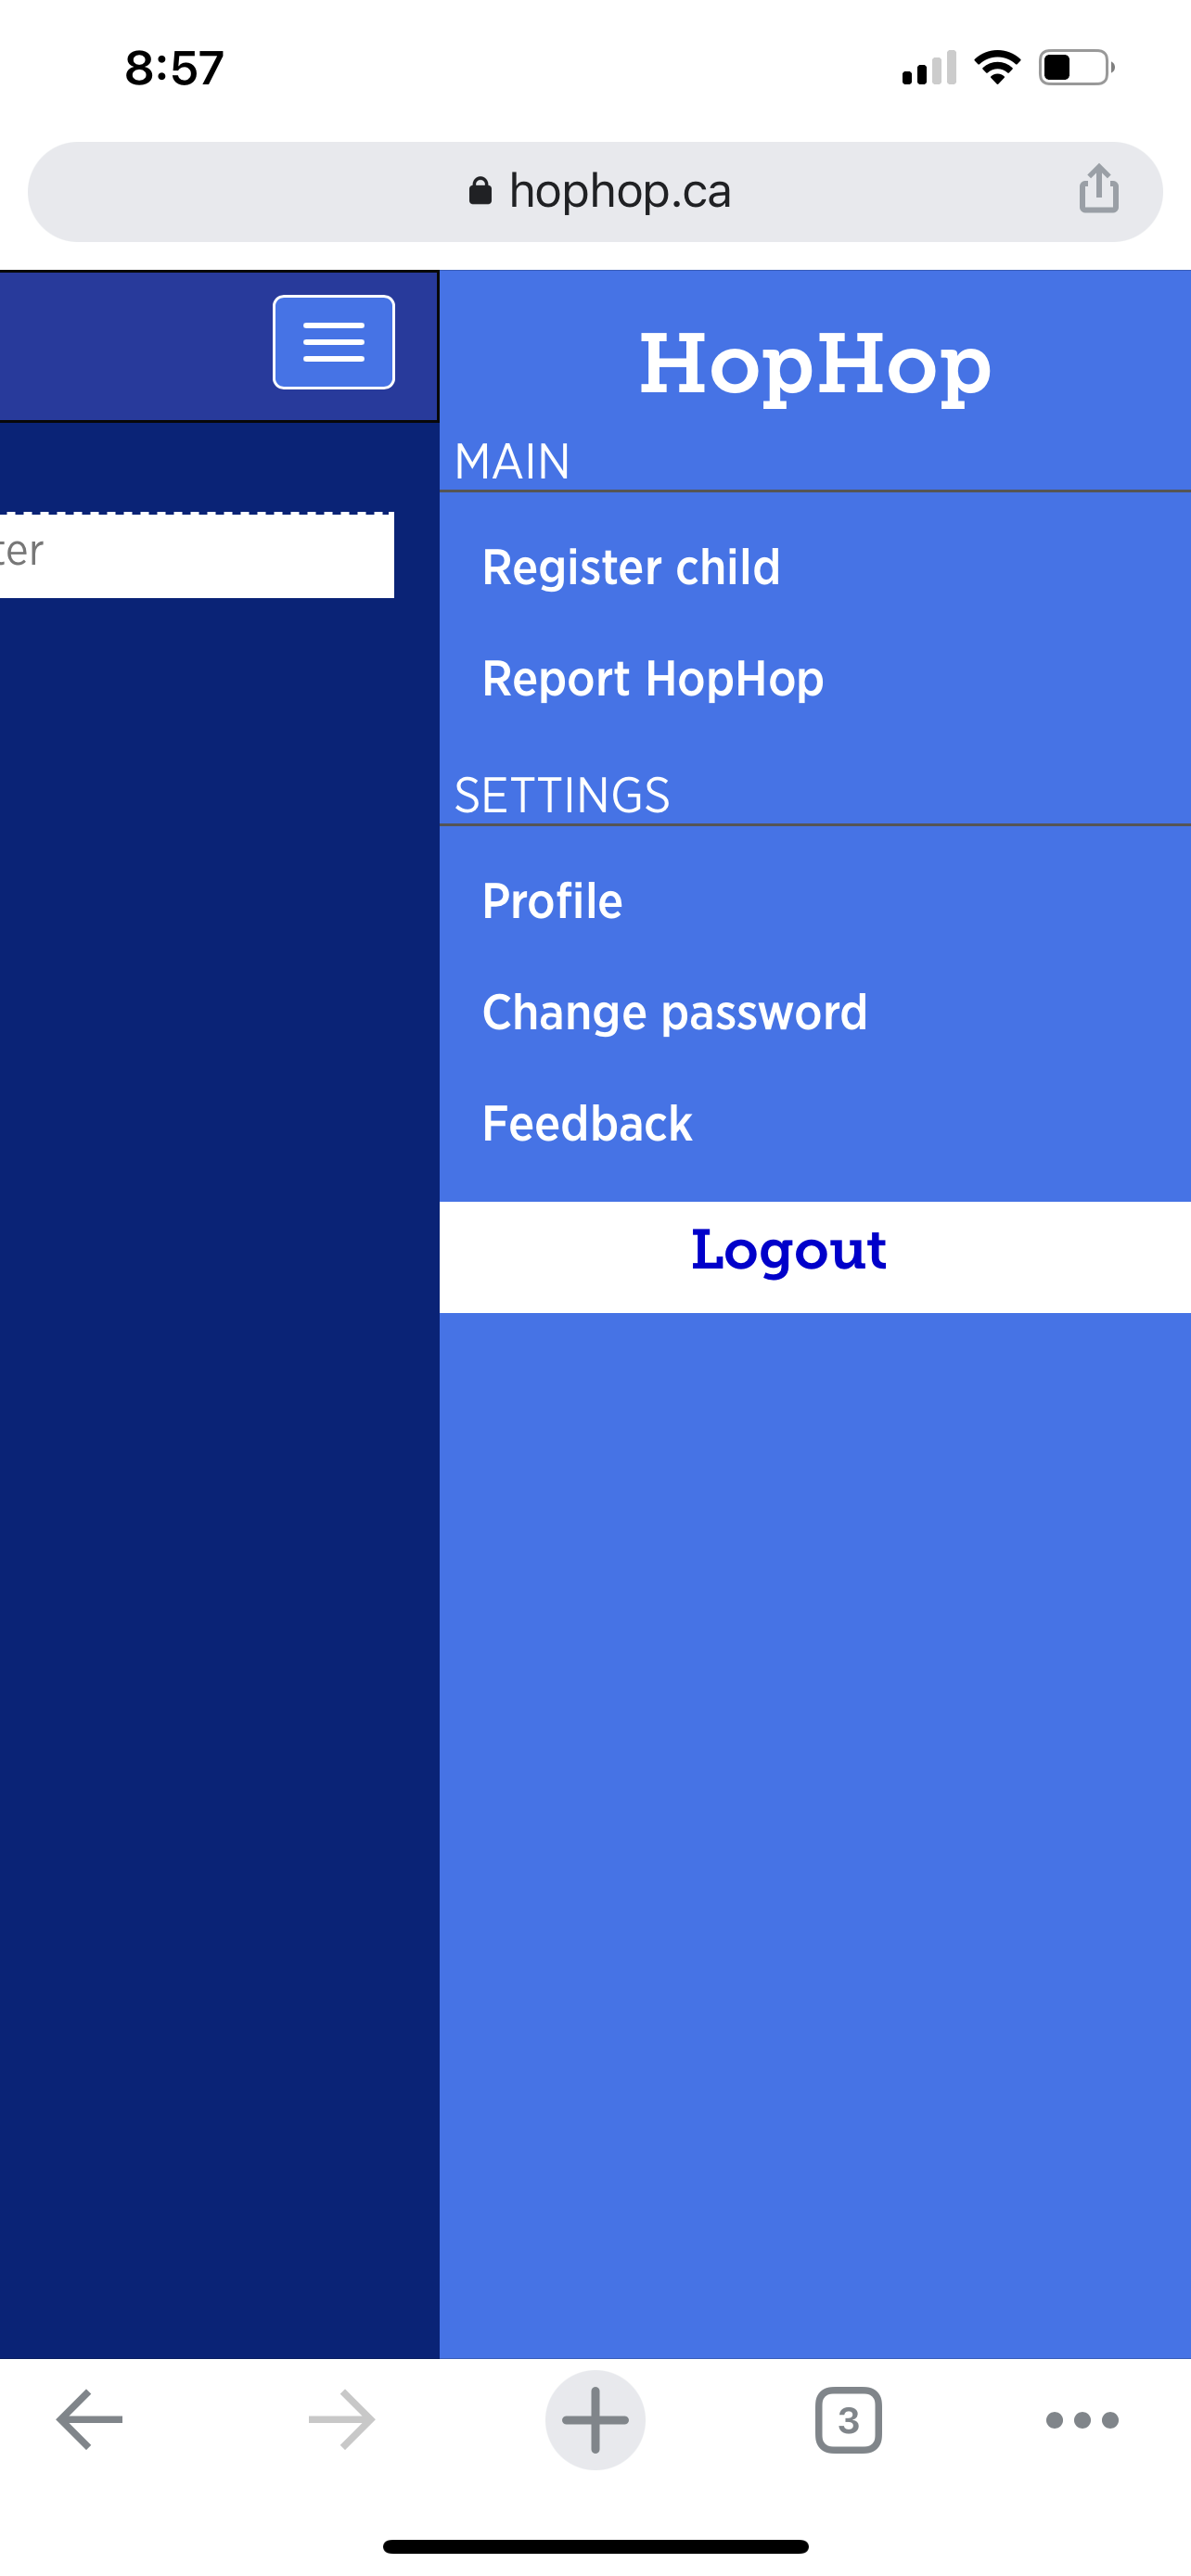
Once connected to the web application (app.hophop.ca), go to the menu and select “Register child”.
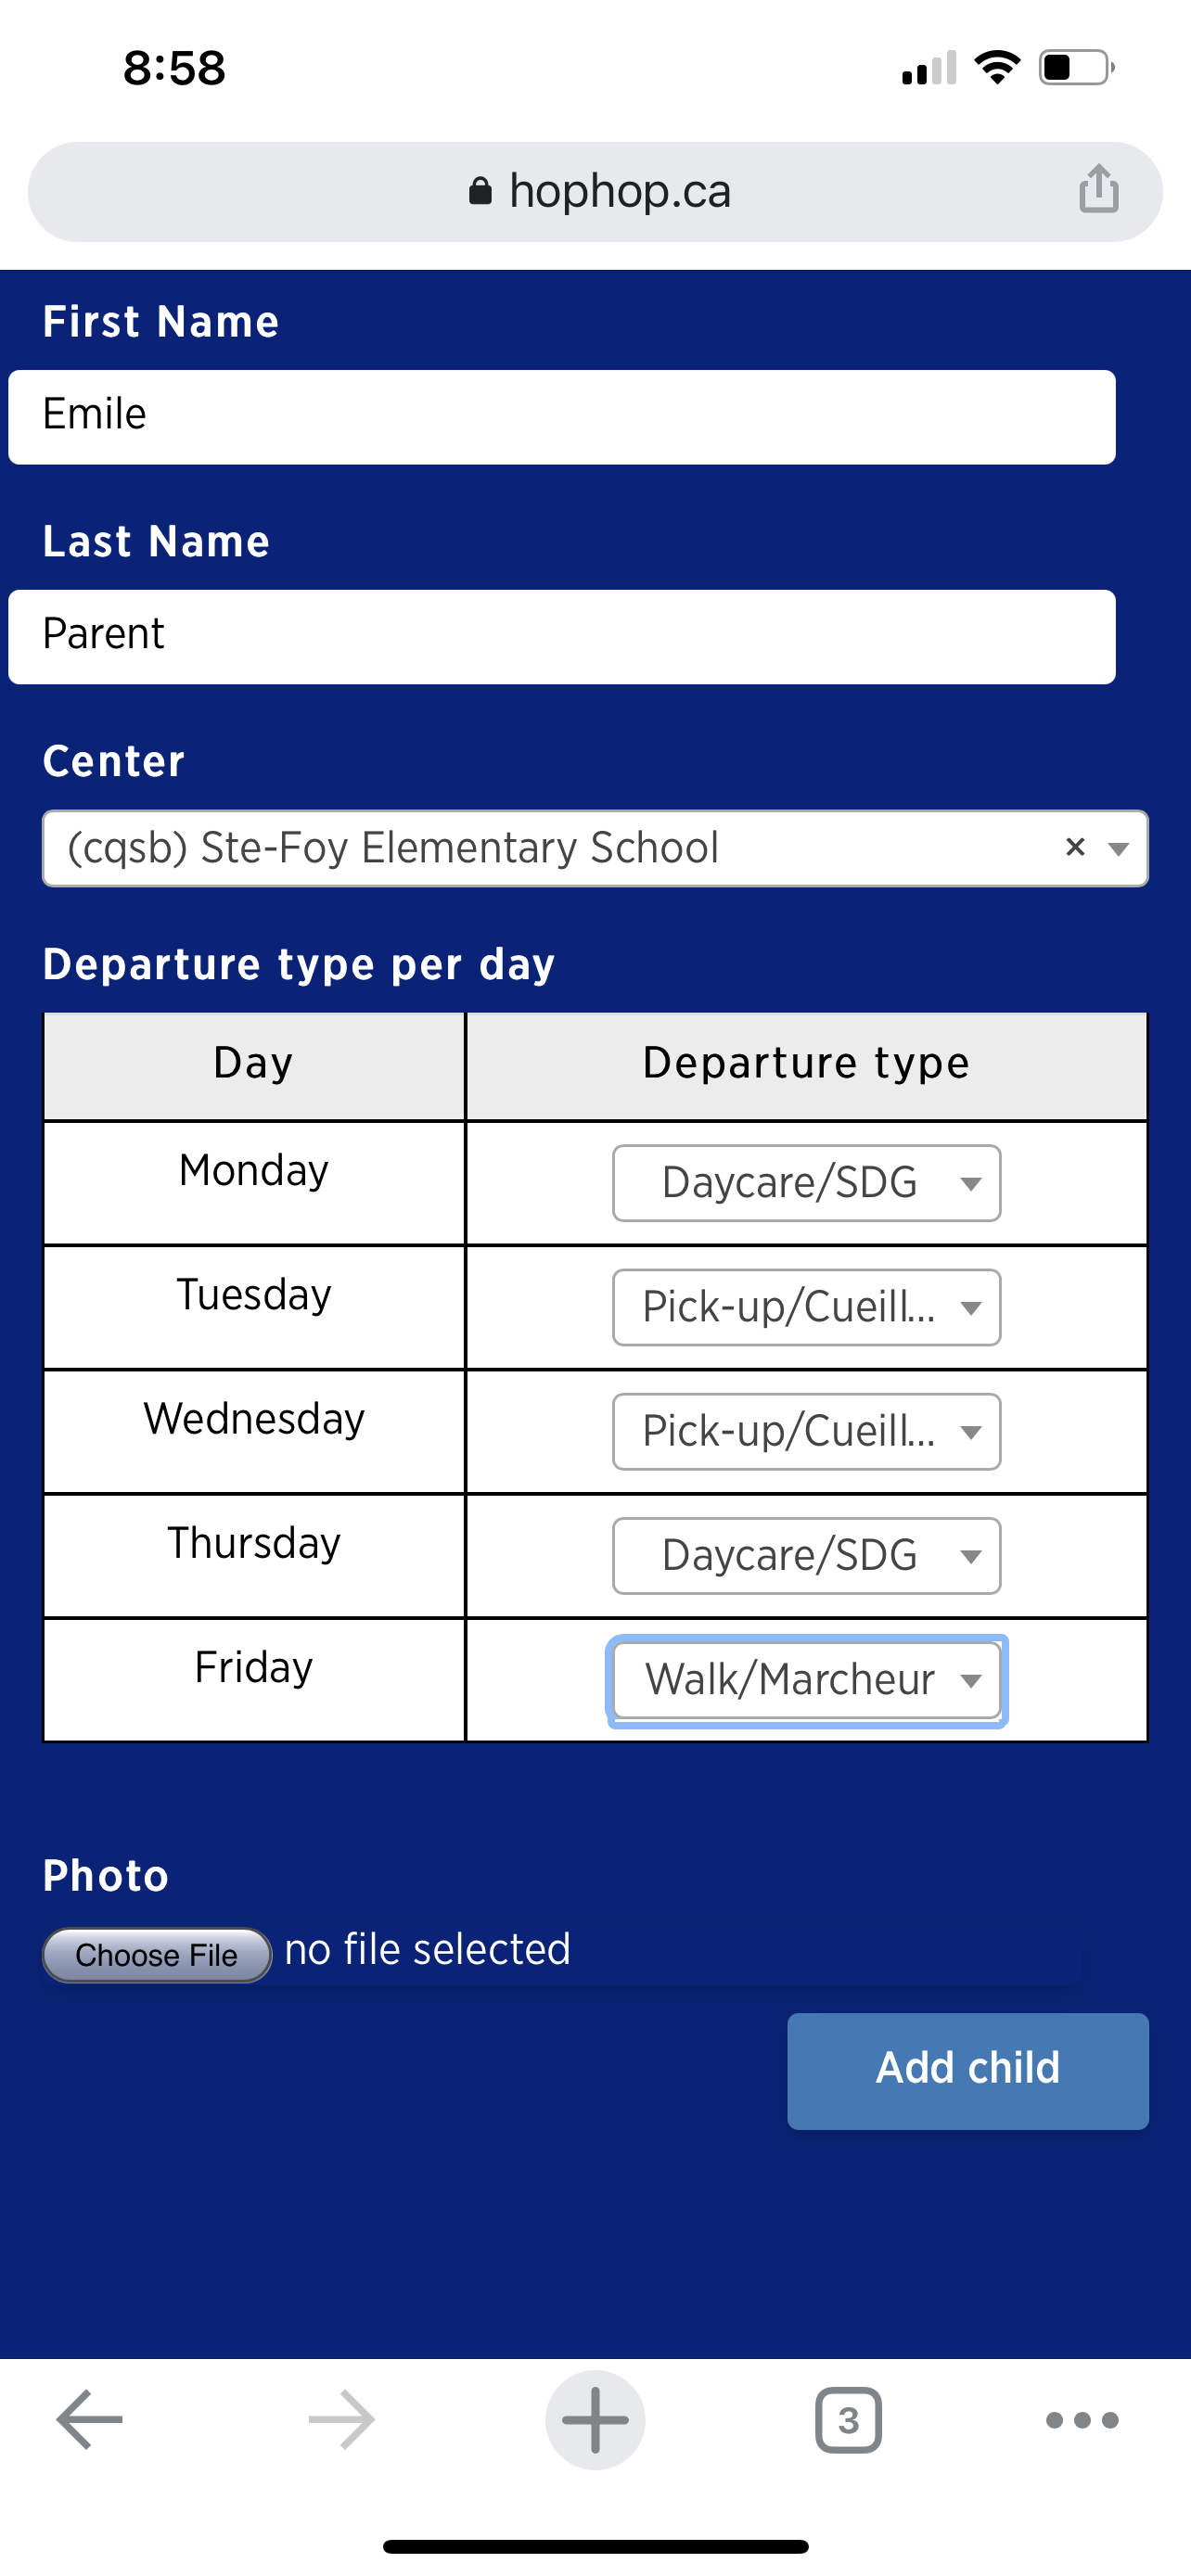
Enter your child’s information:
- First name,
- name,
- choose the center related to your child,
- (your child’s photo is optional).

When you choose a centre with the after-school management feature, a window allowing you to enter a template status for every day should appear.
Select the type of status for your child on each day of the week. Choose the most frequent after-school type. You will be allowed to make changes each day once the account has been approved by the centre.
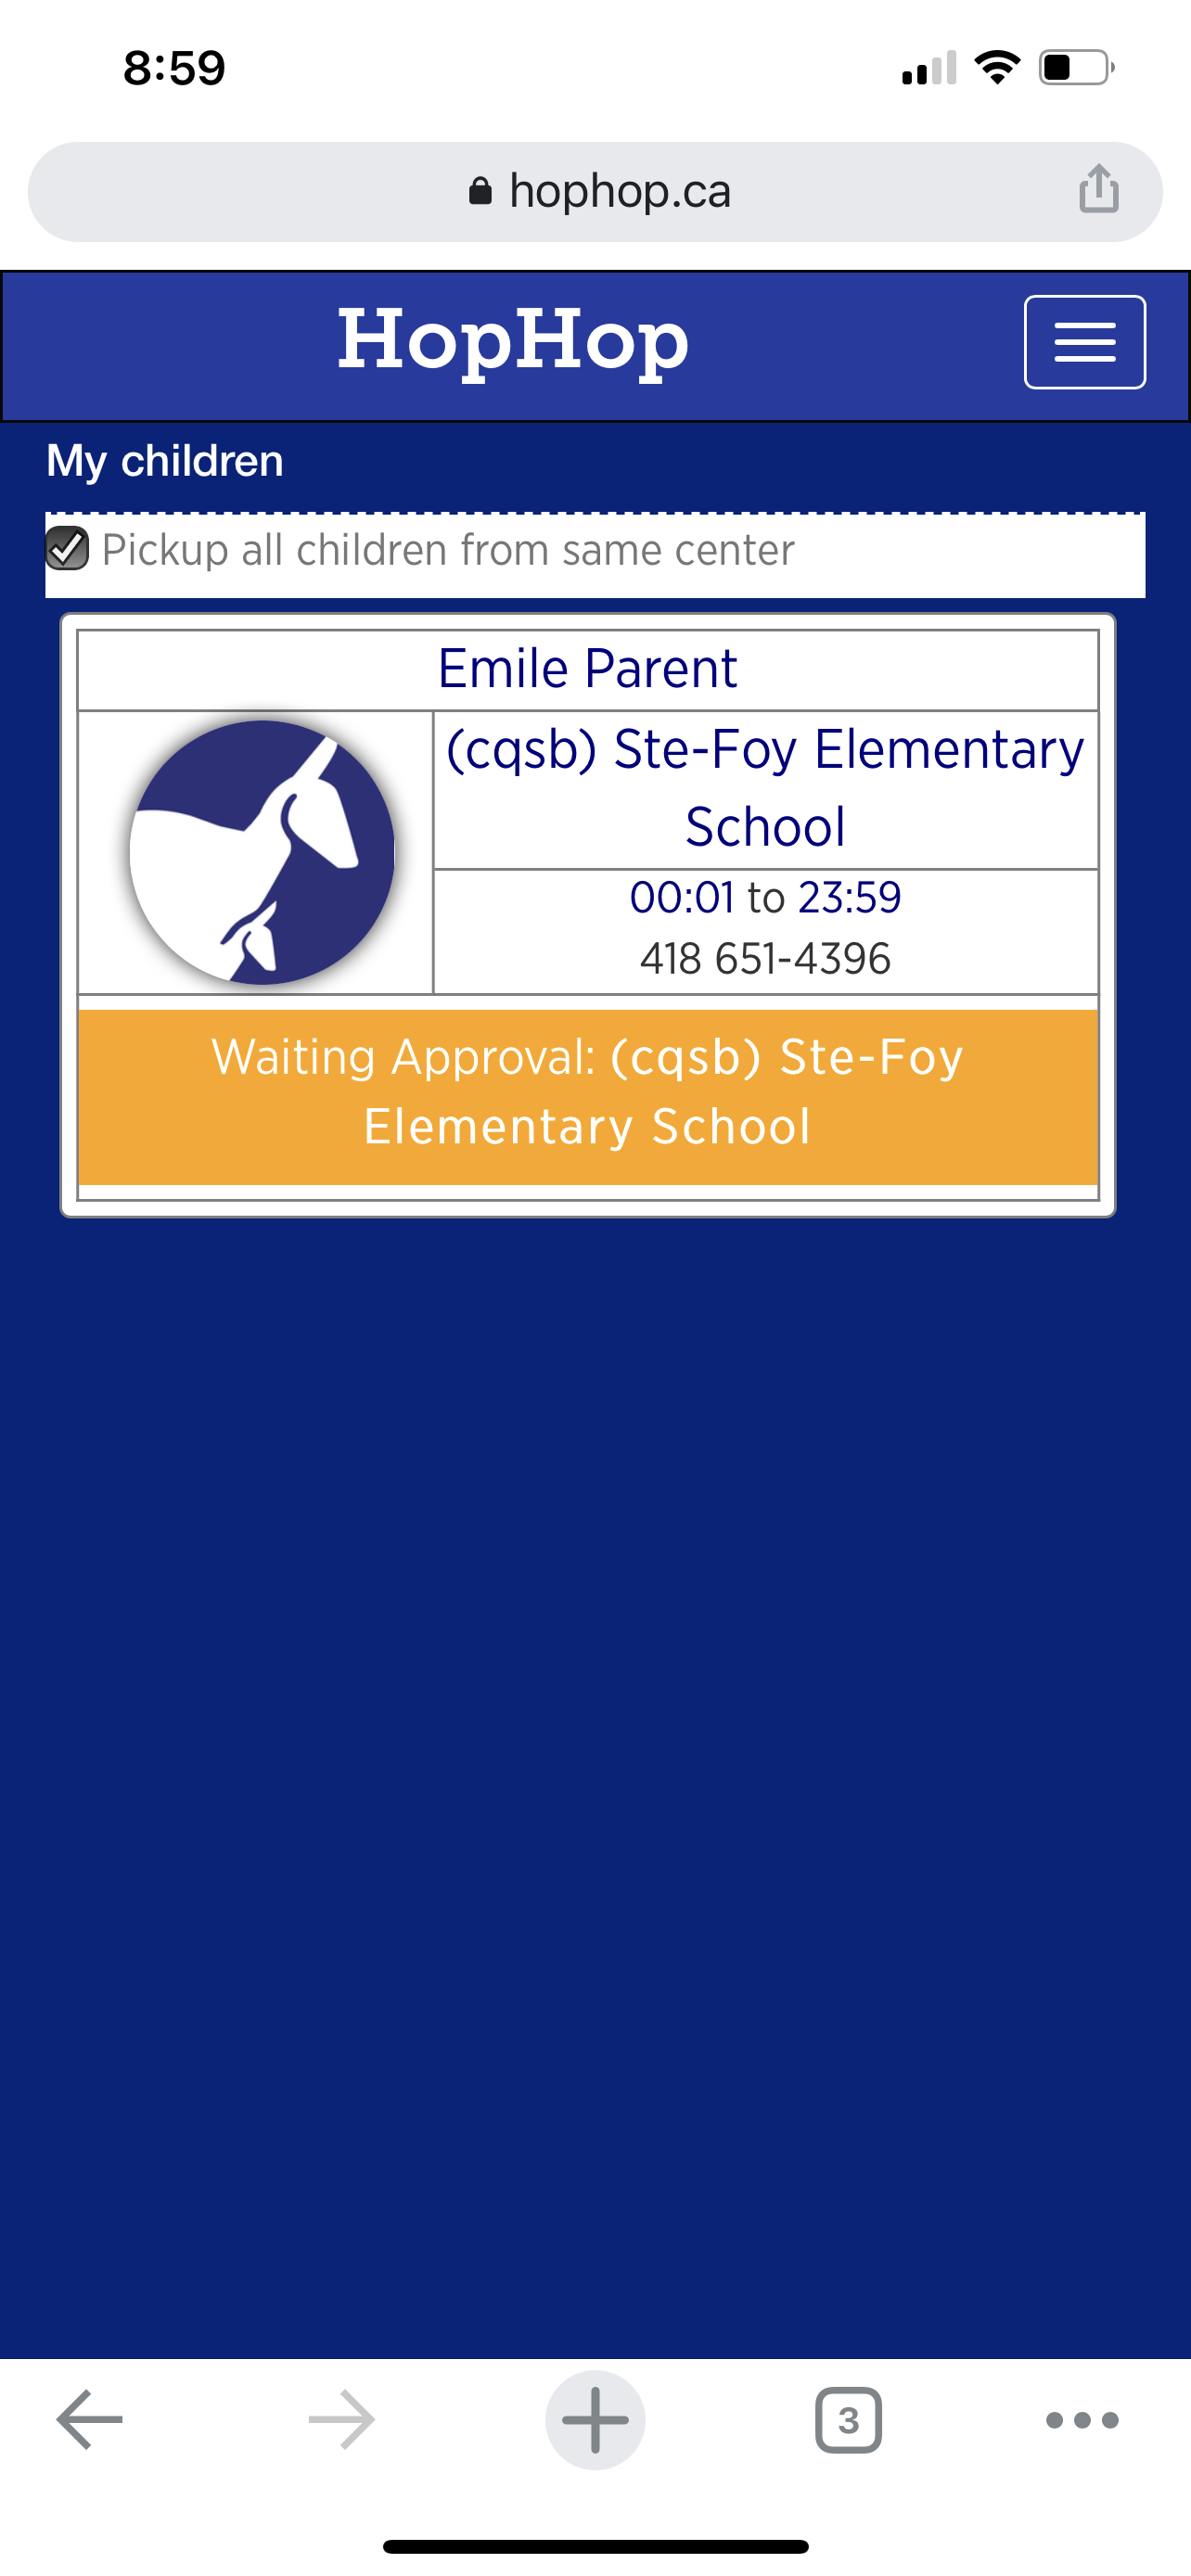
Once your child’s record is added, the child will appear in the main page of the application with a banner indicating that the center must approve the account.
4. Add another person to the account
You can add other people who can make daily adjustments to your children’s status (eg another parent).
Go to the “Add authorized people” menu.
Create the file of the person who will be authorized to make changes with you.
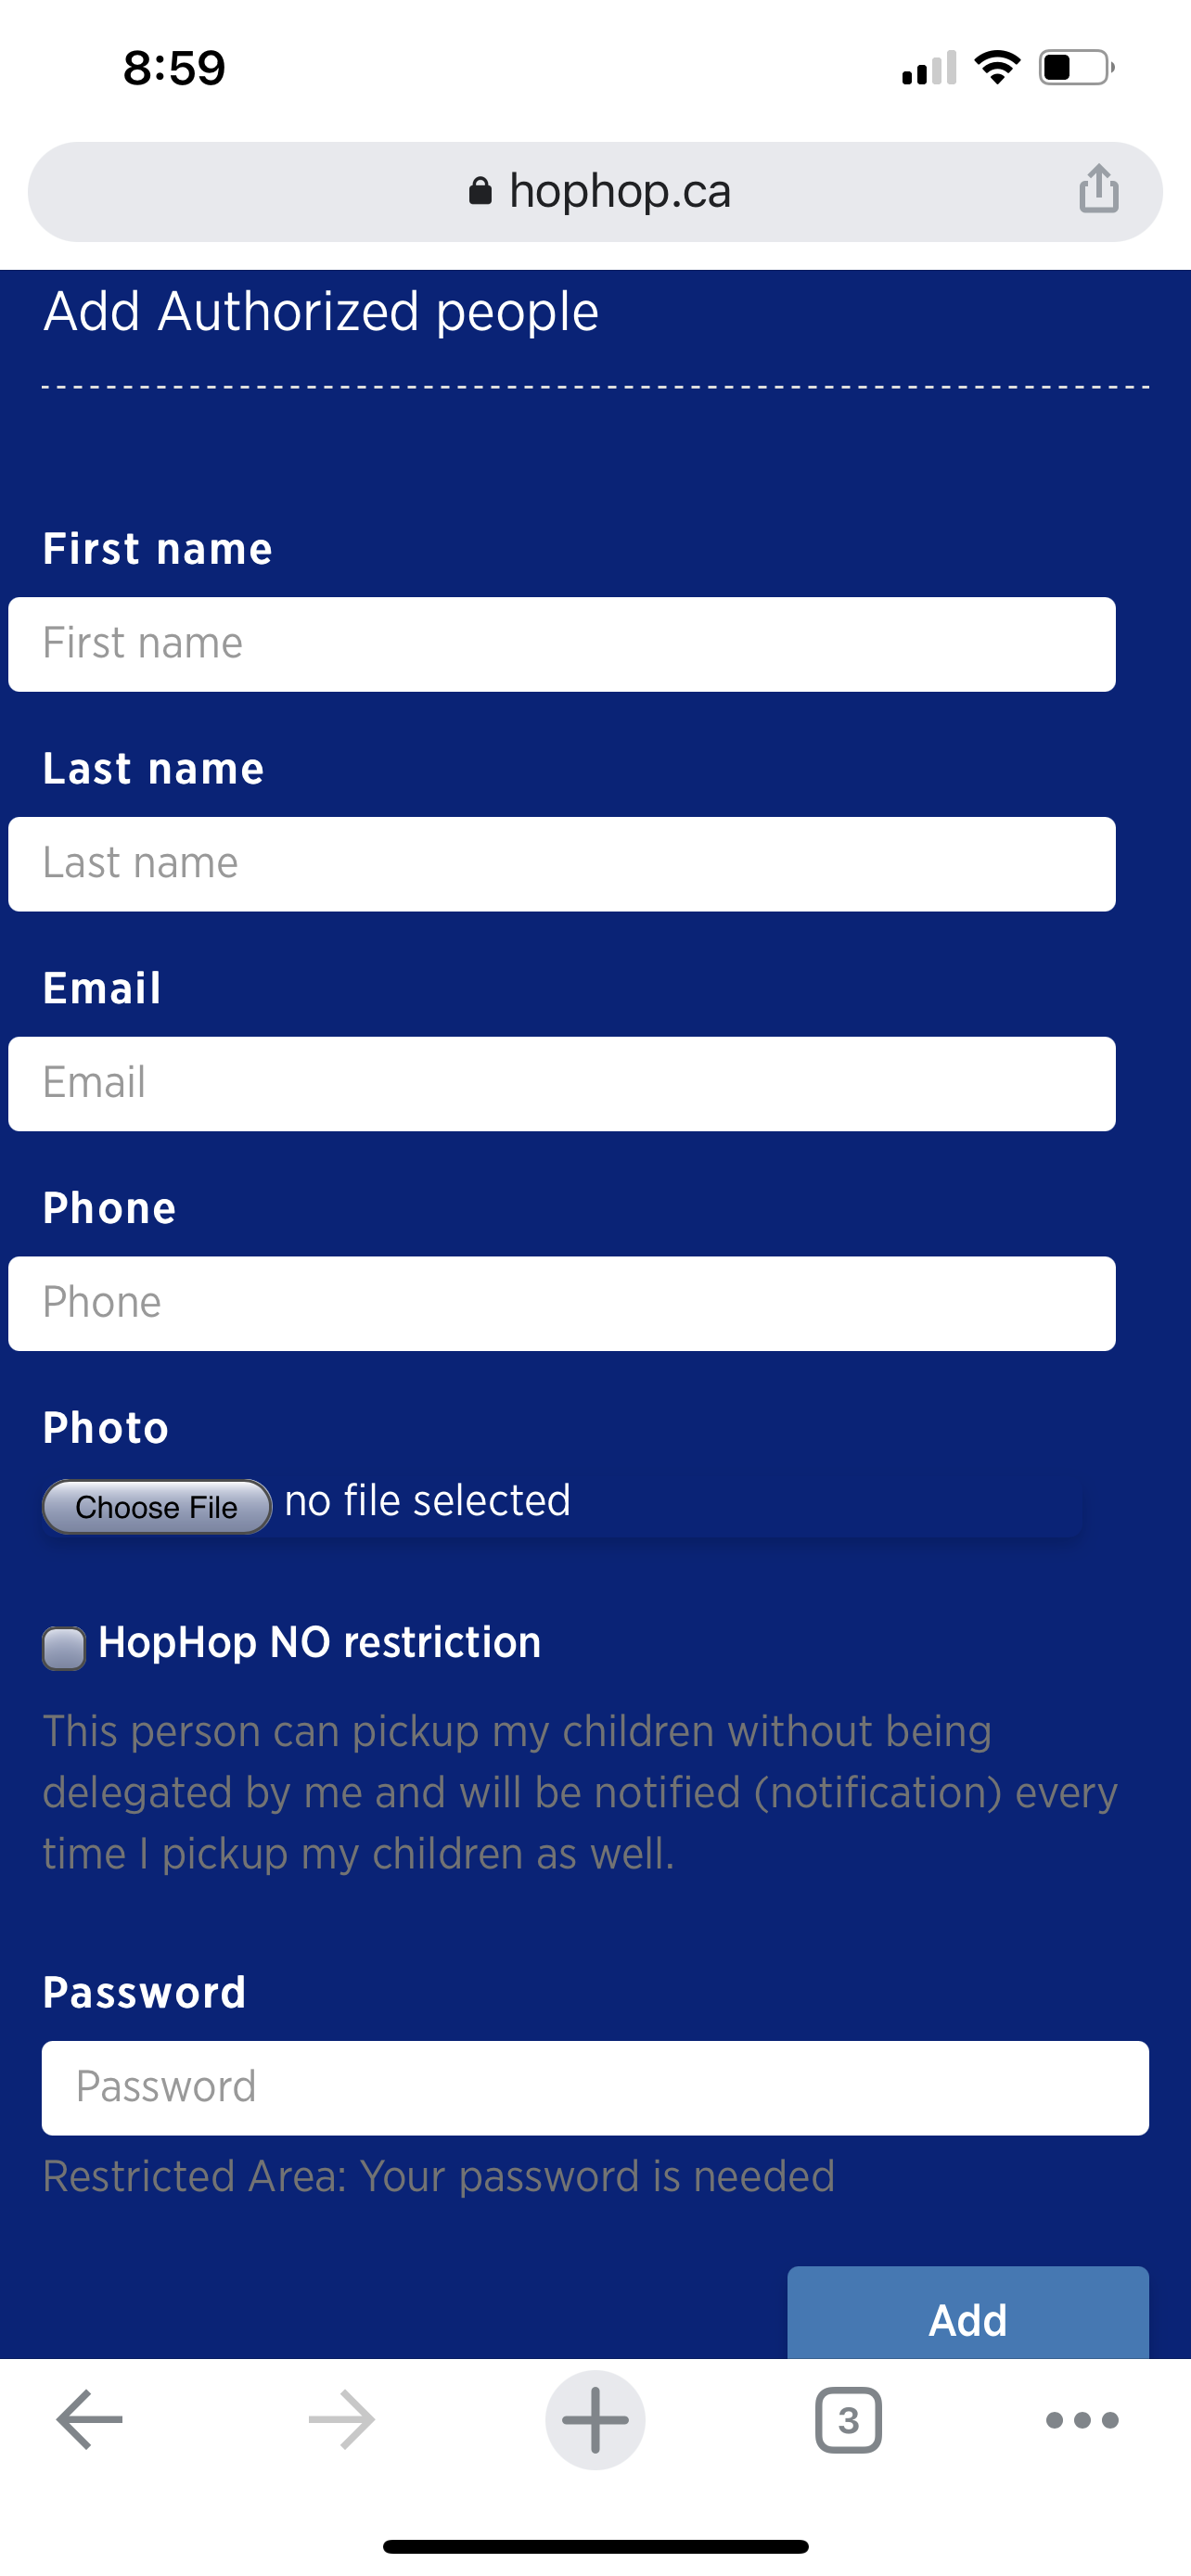
You must enter your password, the one you used when you logged in to the application, for having the authorized person been added to your file.
Note: You must activate the “HopHop NO restriction” option so that the authorized person can access your children’s file.
When this person is added, an email will be sent to the email address you entered. A temporary password is sent to log into the application in the same way as you.
Change in your child's departure type
This action is to be performed if your child's departure type is not according to the standard departures you initially established. This action can only be performed on the web version of the application.
1. Login to the web version
Go to app.hophop.ca and enter your information to log into your account.
For each of your children, you will see information in three sections. Changing your child’s type of departure is done in the “End of School” section identified in the image below.
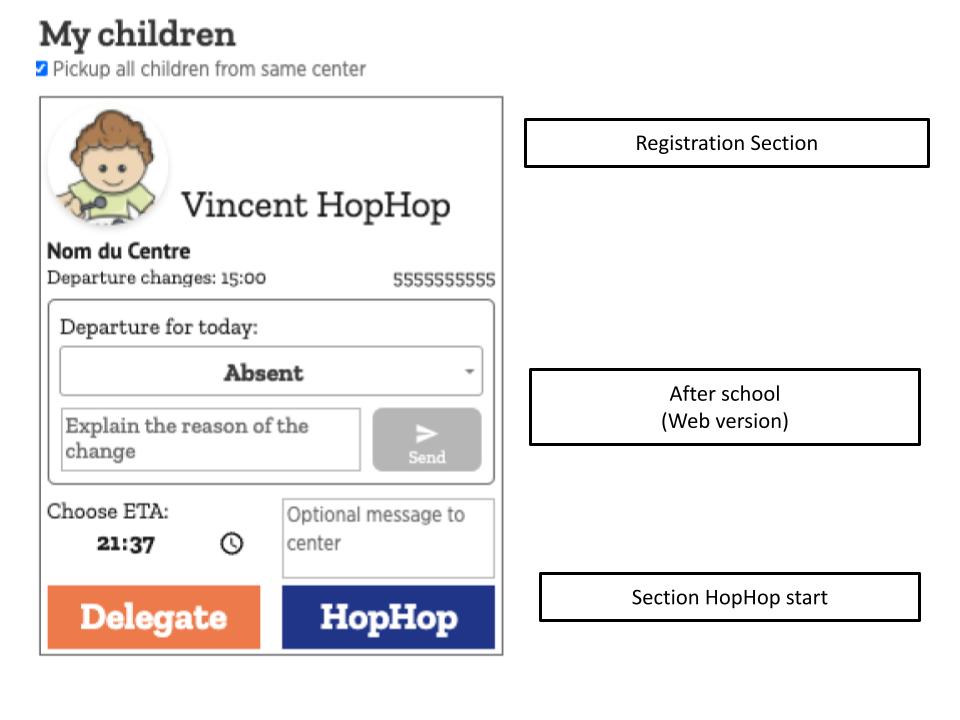
Note: If the middle “After School” section is not visible, it means that you are outside the school’s accepted changeover times. You will need to contact the school by phone.
2. Change the type of departure for the current day and add a note
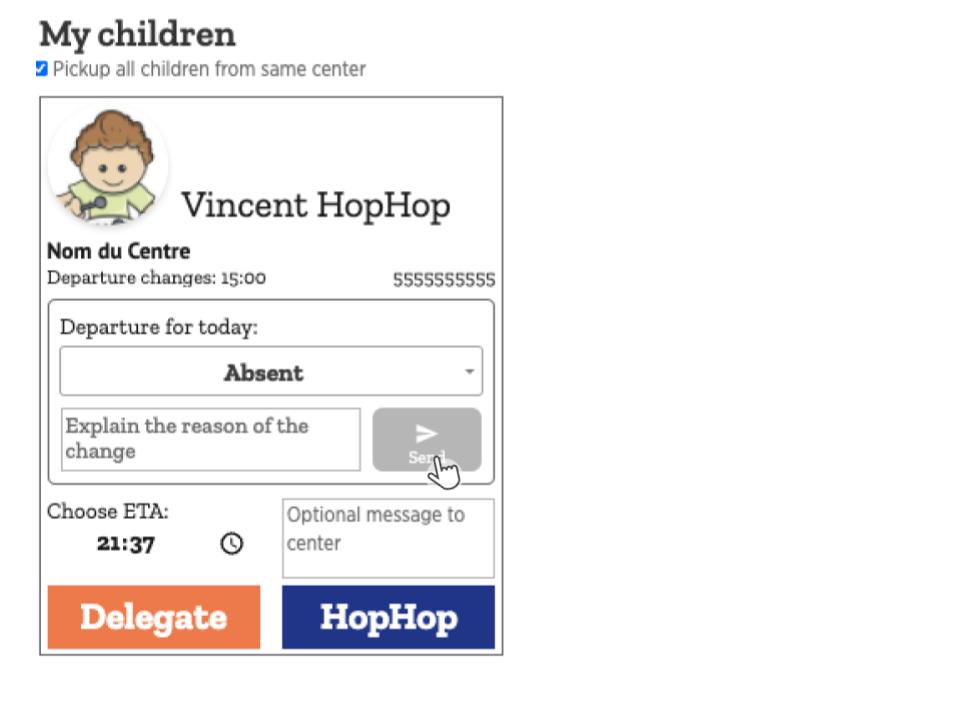
To change the departure type, press the drop-down menu in the “Departure Type” field.

Select the departure type for the current day from the drop-down menu.

Add a note justifying the change.
3. Send the change to the school
Once you have selected the type of departure for the day, press the Accept button to send the change to the school.
You will receive a confirmation email to ensure the change is done.
Schedule your child's departure
This action can be done to configure the departure of your children for the whole school period. This action can only be done on the web version of the application.
1. Connect to the web version and open the calendar
Go to app.hophop.ca and enter your information to log into your account.
Click on the calendar image

Then select the word ”school”.
2. Choose a date
Double-click on the date you want to schedule into the calendar.

3. Schedule the departure in advance
Choose the child’s name by clicking on the small triangle. A drop-down menu appears with the name of your children.

Choose your child’s departure type from the drop-down menu.

Add a note to justify the change.

If the departure type is recurrent, choose a recurrence type from the drop-down menu.

Set an end date for the recurrence.

Once all field are filled, click on the Create button to save the info.

Any Questions?
Send us your questions or/and requests.
